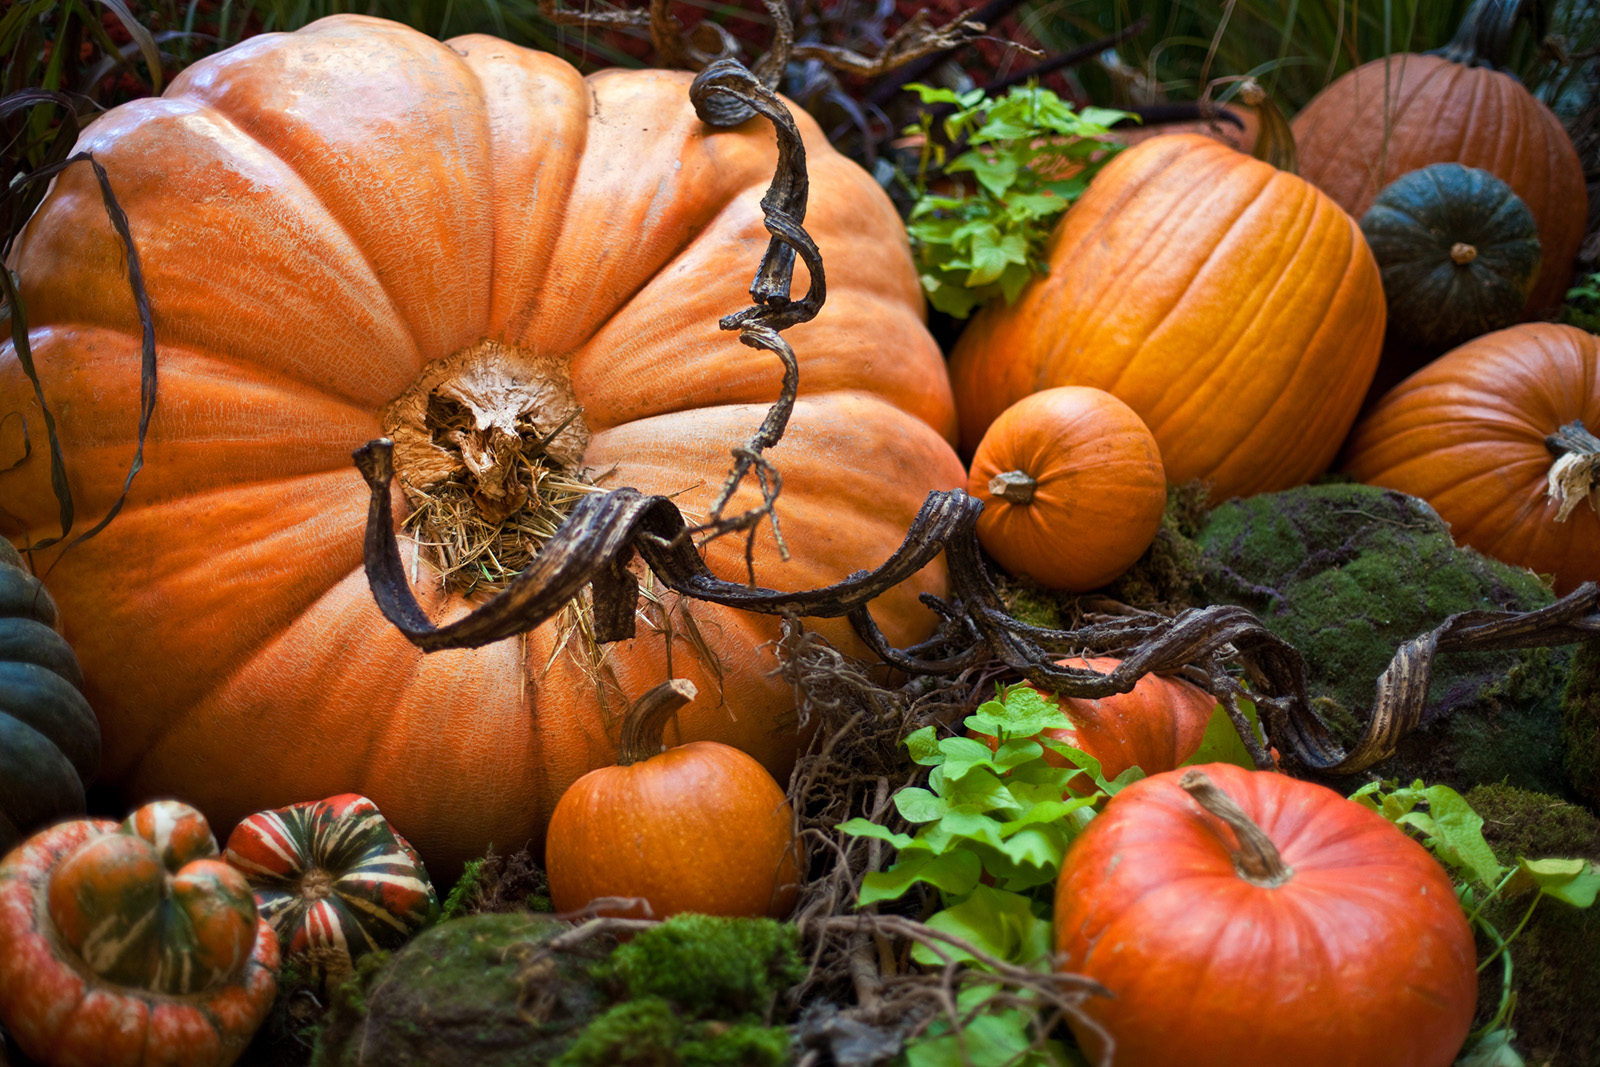
It is estimated that the UK will fork out nearly £400m on Halloween this year, spending a colossal £25m on pumpkins alone!
You only have to take a visit to your local supermarket to see the Halloween themed sweets and costumes us Brits will spend millions on this autumn. Despite this scary level of spending on a recently new tradition, it’s fair to say that there is still a portion of the great British public that despise Halloween and especially trick or treating.
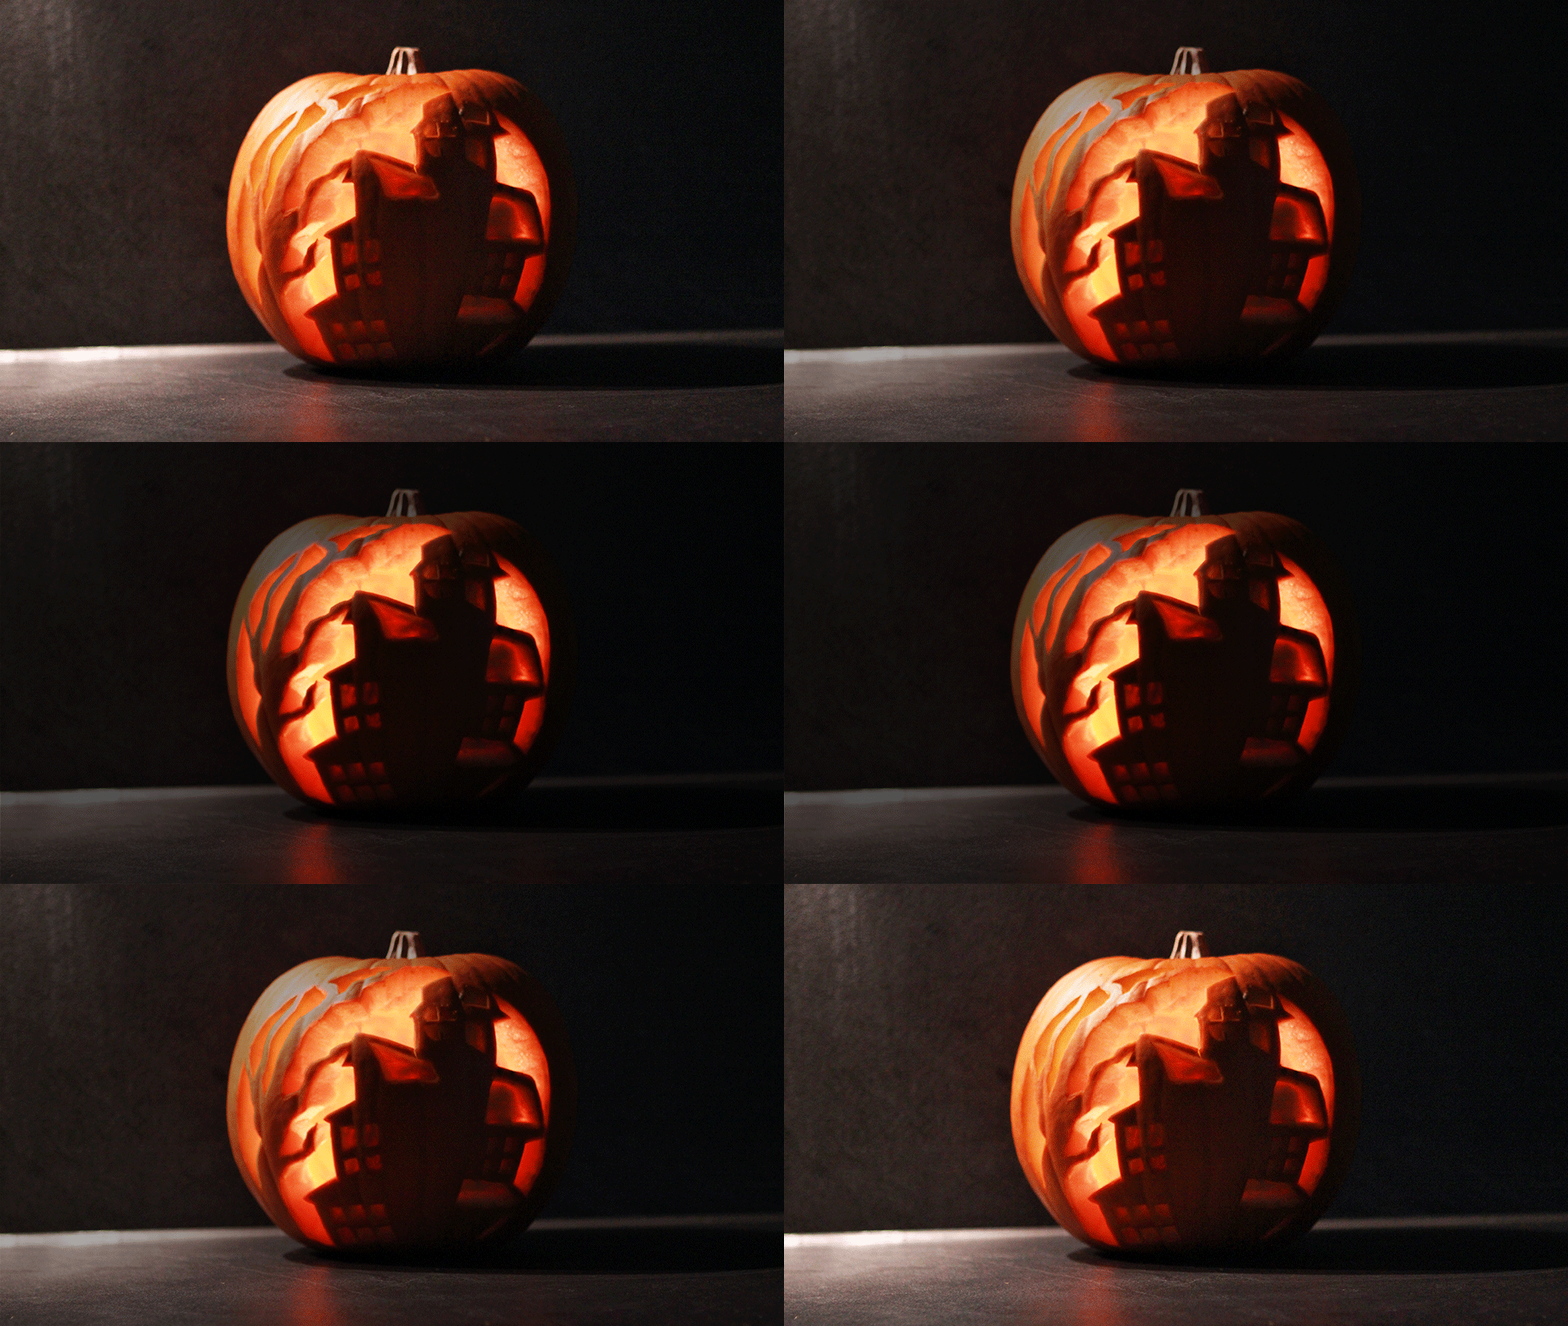
But fear not, the seasonal pumpkin comes to the rescue – a carved pumpkin welcomes ghoulish guests and is a recognised sign of participation in the community ‘trick or treat’ spirit.
But where to start? Children are the obvious winners here as they get a lot of joy from carving their own pumpkins, but with more and more celebrities turning to floral stylists such as @poppybelleflorals it’s also easy to see why the humble pumpkin has become a statement of personal style and expression which has made it a hit with adults too.
You might choose to take the simple approach – there are many amazing examples of painted pumpkins and pumpkin displays that require nothing more than a bit of arrangement and creativity. However, in order to really create an extension of home interior design, you (the parent) need to get carving.
How To Carve A Pumpkin Like A Pro
So where to start? We’ve prepared this quick and easy guide to take you through the essential steps of pumpkin carving to help you survive the Halloween season.
Be sure to check out our pumpkin inspiration gallery at the end (all carved by our in-house designers) and the links to templates you can use to create your very own works of pumpkin art.

Before the real fun can begin, the first step is to take out the innards. I like to make sure that when I take off the top it is slightly cone-shaped, to make sure that when you place it back on the pumpkin it doesn’t fall down into the middle. To do this, angle the knife down into the pumpkin to form a cone.
Pro Tip: Use a small cerated knife. If you can find one that is slightly flexible it will help you go round corners when it comes to cutting out your design.
Once the lid has been removed the next step is to take out the seeds and the stringy tissue to form a centre cavern in which to place your candles – scrape down the sides of the inside of the pumpkin with a robust spoon. Once you’ve worked your way around the entire contents of the middle, it should then come out in one go.
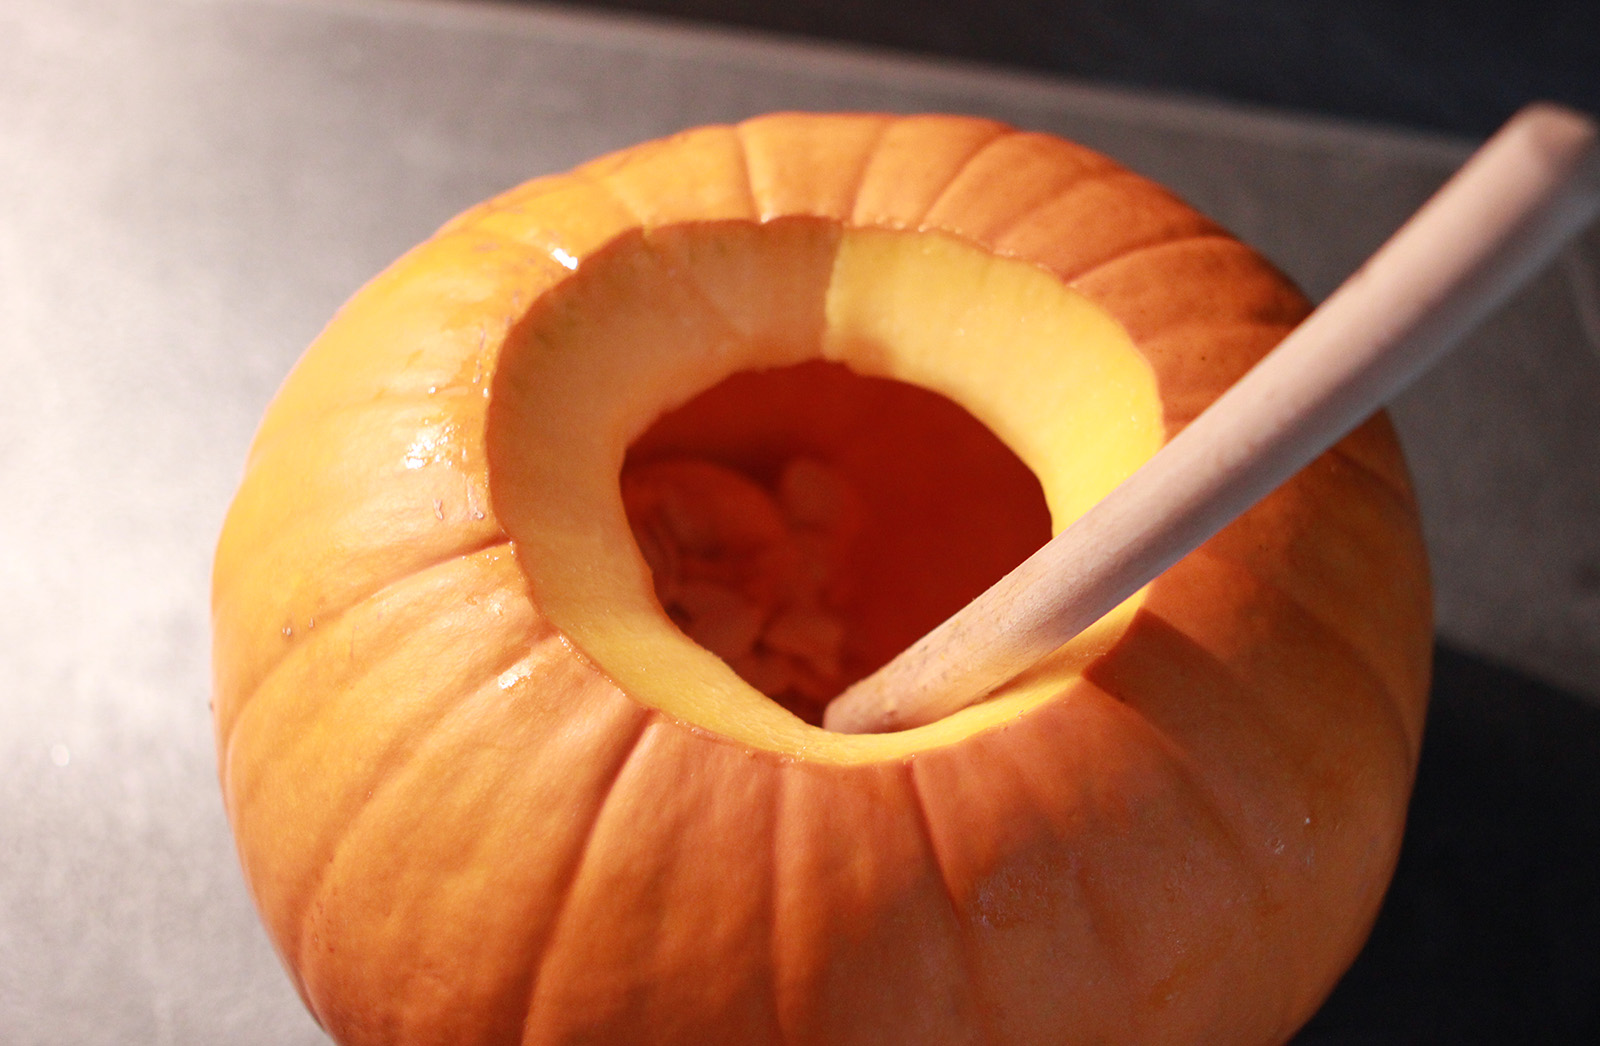
Pro Tip: Place a food bag over the whole pumpkin and tip the pumpkin upside down so all the innards fall into the bag. You can then place it in the food waste bin.
Once you’ve picked out your design it’s time to draw your outline on the pumpkin.
Pro Tip: Use biro as it draws easily on the pumpkin skin and with a bit of water any mistakes can be rubbed off.

The best way to cut out your design is to trace over the lines you have drawn with the knife, piercing the skin by just a few millimetres. This way you can accurately follow the lines you’ve drawn for your design – we aren’t aiming to push through the full depth of the pumpkin, to begin with.
Once you have your preliminary cuts with the knife you can now start carving through the full depth of the pumpkin. As you’ve already traced your design with the knife, the deeper cuts will naturally follow shallow cuts you have previously made.
Pro Tip: Rotate the pumpkin as you cut out the various parts of your design so the knife is always moving in the same direction, it will help improve accuracy of your cuts.
As you complete cutting out section by section you can push it through into the middle of the pumpkin to leave your shape.
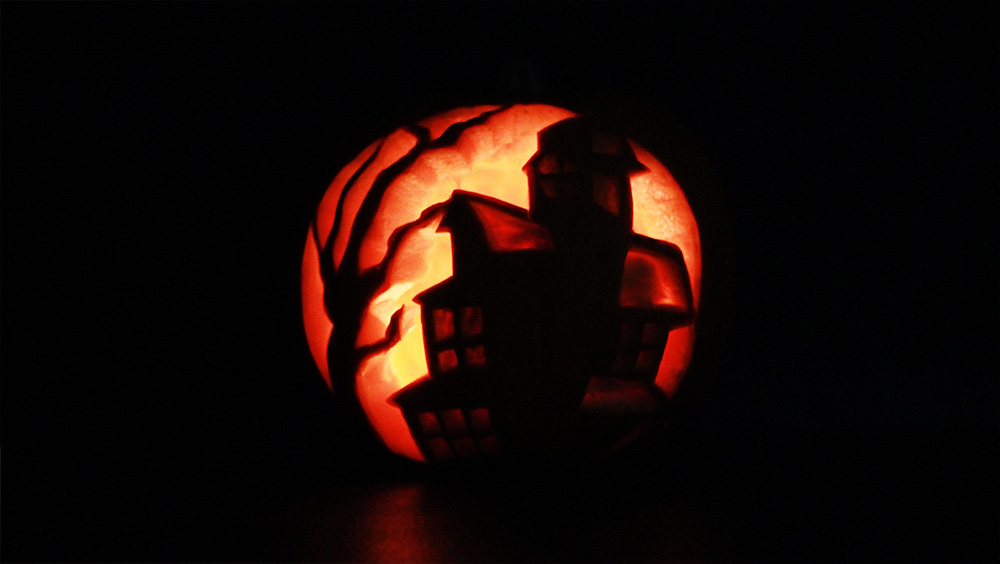
Start with the inner least structural parts of your design and work your way out. To ensure most light comes through you want to make sure that the direction you are carving is perpendicular to your outlines. Remember you are going to be viewing your pumpkin from the front, so the light won’t shine through parts where the flesh remains.
You can vary the amount of light showing in the design by cutting some areas to half depth. In this example, we have used this method to create windows and highlights on the rooftop.
Pro Tip: For adding colour to your pumpkin, black chalkboard paint is a great way of adding another element of detail to your design, or why not try painting a pumpkin entirely black!
When it comes to lighting your pumpkin there are electronic candles available which are safe for children, but for full effect, there’s no substitute for using two tea light candles placed inside your pumpkin.
Pumpkin Carving Inspiration Gallery
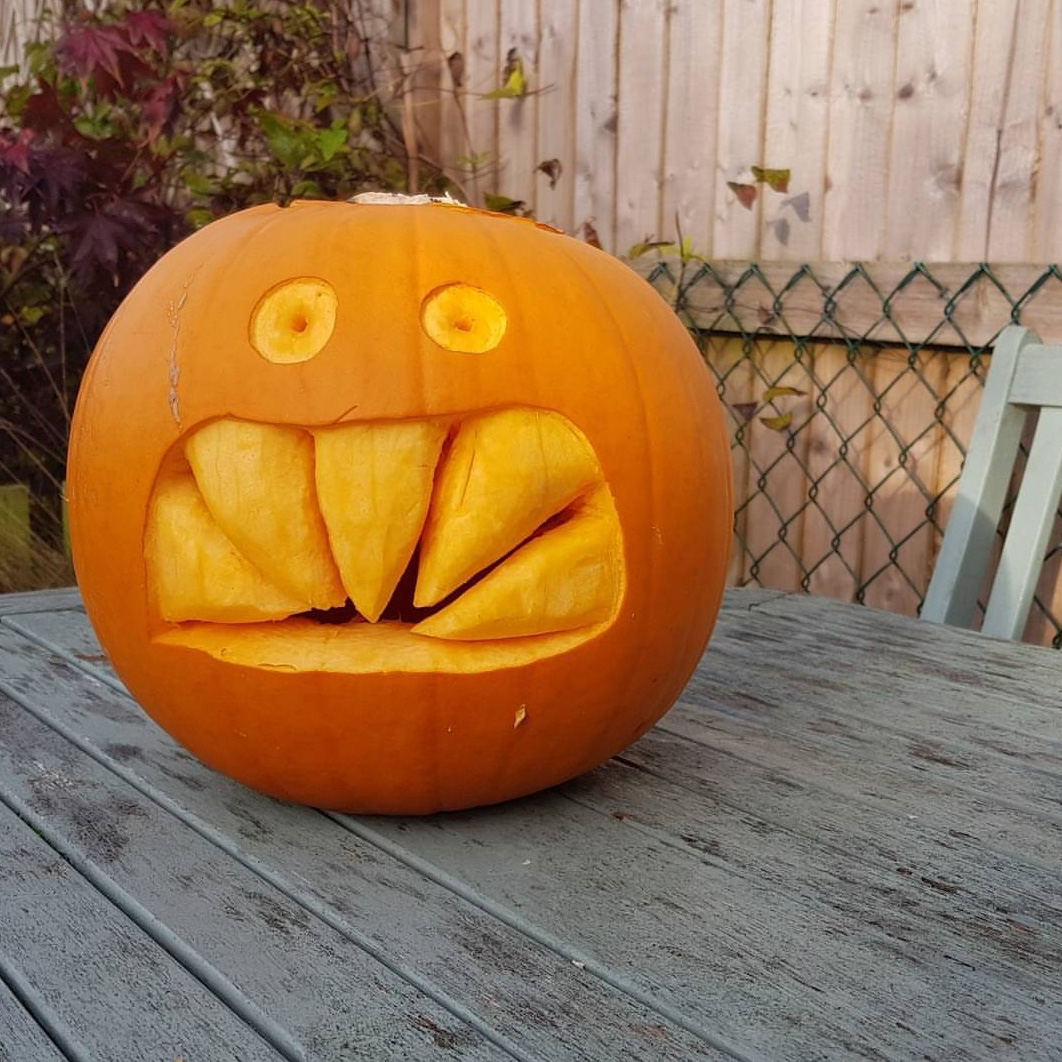
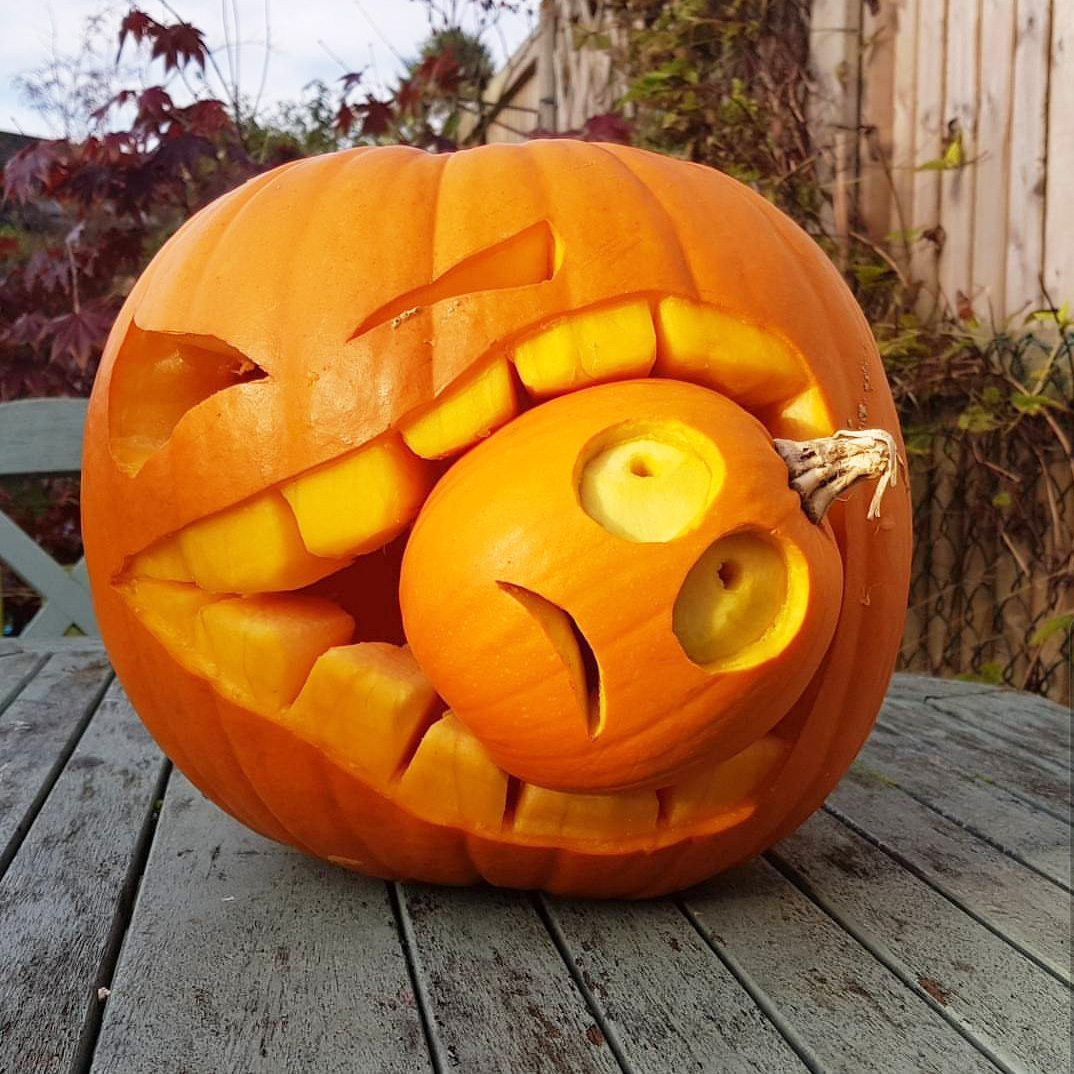


If you need more inspiration, visit zombiepumpkins.com for some great patterns to copy and create your own carved Halloween masterpiece.


